So what do I do? Find a recipe and get testing.
I haven't been doing a whole lot of baking lately so my cupboards were a bit low on staples but I spotted a bunch of very ripe bananas sitting on the kitchen bench that M had not eaten. Now, we all know what comes to mind when we see ripe bananas.
Normally I would just whip up some Muffins but I was in the mood for some Chiffon cake, so on the internet I go! I may have loads of baking books but most of the books don't have chiffon cake recipes so I rely on the trusty (ish) world wide web.
The Chiffon Cake recipe was originally invented by a Californian man who eventually sold it to a corporate company. This type of recipe, along with all the adapted ones, is the base recipe for most east asian style cakes because it is light, moist and not overly sweet. Also, butter is expensive in those countries so a cake recipe that doesn't use butter is a sure fire win and let's not forget the cholesterol thing that people keep harping on about.
 |
| Light spongey cakey goodness! |
I found this particular recipe by Kitchen Tigress and instantly took a liking to her blog page. The photos are clear and her instructions are concise and since she is based in Singapore, many of her bakes are right up my alley! Can't wait to try and bake her charcoal cake.
If you like the sound of baking Chiffon Cakes then invest in a good Chiffon Cake tube pan. It will be worth while, promise. Be sure NOT to buy a non-stick one because the chiffon relies on sticking to the side of the pan in order to keep its shape when out of the oven.
This recipe calls for specific weights of egg whites and egg yolks to be used which I love because no egg is the same, so the exact weight of eggs will ensure consistent results.
Any extra egg, just scramble it and stick it on a piece of toast. A quick and easy snack!
Cake Flour is not available to purchase in the UK but you can improvise and make your own:
Take one level cup of Plain flour, spoon out 2 level tablespoons of it and put it back. Replace the lost 2 tablespoons of flour with cornflour or corn starch.
Sift the flours 3-4 times to ensure the 2 flours have combined evenly and there you have it, cake flour!
Any extra you don't use, just pop it in to a jar and keep it for future recipes that call for cake flour.
I made a couple of obvious errors with this recipe which probably contributed to not getting the rise I was looking for but the Cake itself was still extremely soft and light, just what a chiffon should be.
First mistake: Not blending the banana in a processor or blender. It does tell readers to do this in the recipe but I was being lazy and thought, "just mash it like normal, it will be fine!" It was fine but if I had blended the banana more I think there wouldn't have been tiny banana bits in the sponge and it would have been more of a stable cake.
2nd Mistake: No bicarbonate of soda! This was one of the staples I ran out of after I used it for cleaning and forgot to replace it. I decided to just replace it with more baking powder even though I knew the result would be different. Bicarb gives rise to a mix when it comes in contact with moisture whereas Baking Powder rises during the baking process so I knew the rise would not be as effective.
Let's Bake!
Banana Chiffon
INGREDIENTS
(A)
175g Peeled Banana (about 2-3 bananas)
60g Egg Yolks
15g Caster Sugar
40g Corn Oil
70g Cake Flour
1/4 tsp baking powder
1/2 tsp Bicarbonate of Soda
a pinch of salt
(B)
140g Egg Whites
a small pinch of Cream of Tartar
50g Caster Sugar
Oven Temp: 160ºC
METHOD
- Blend the bananas, egg yolks, sugar and oil - from list (A) - in a blender or food processor.
- Sift the rest of the dry ingredients from (A) and using a balloon whisk, mix the banana mix and flour together until just combined.

- Whisk egg white in a clean glass or metal bowl until frothy.
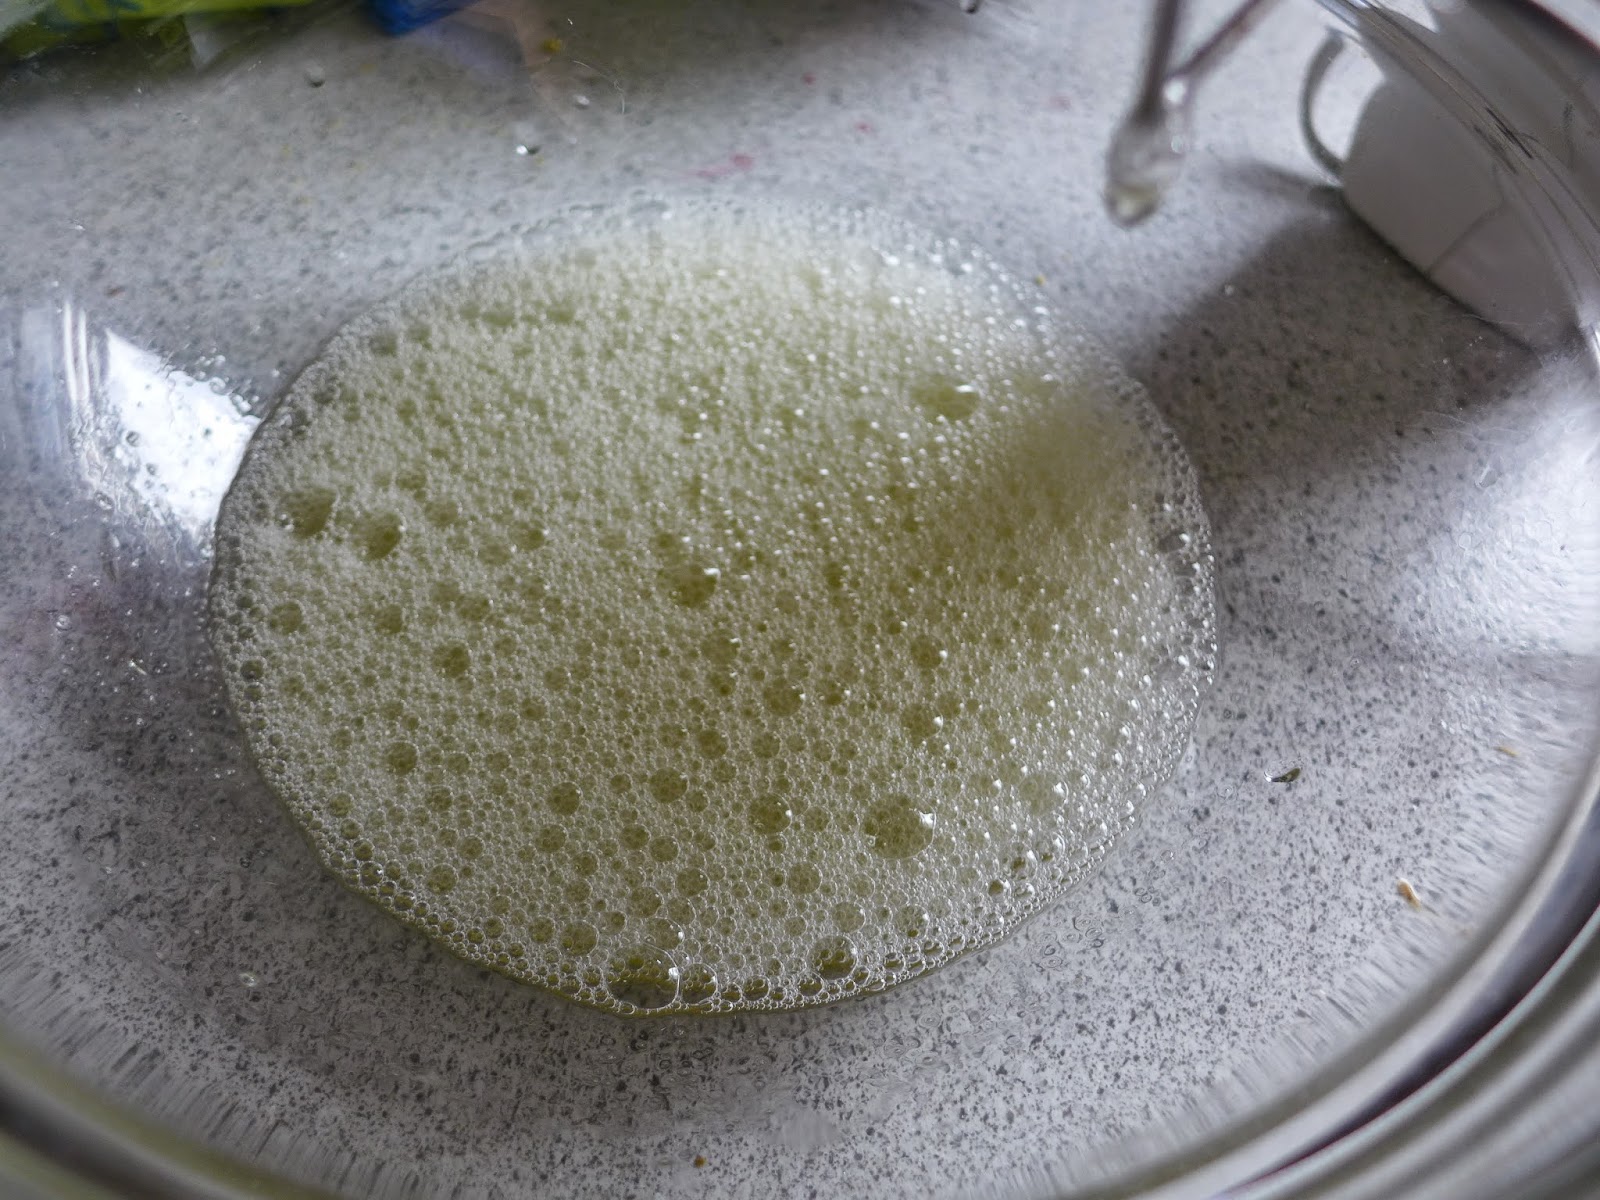
- Add Tartar and whisk until the white start to thicken.
- Gradually add the sugar, from (B), while still whisking.
- Whisk on high until it reaches stiff peaks.

- Fold the whites in to the banana mixture in 3 batches with a whisk - I have always used this method to fold whites in to cake mixture so trust me, it will be fine! When almost completely incorporated, use a spatula to fold the rest and scrape down the sides.
- Gently pour the batter evenly in to the cake tin.

- Lift the tin up slightly and drop it back on the worktop, a couple of times. This gets rid of any large air pockets
- Bake for 1 hour and check on it. When done, the cake should not be jiggly or give way when you gently press it. If it isn't ready, put it back in the oven and check every 5 minutes until you're satisfied.
- When you take it out, invert the cake tin and balance it on something like a bottle.

- Once cool, use a thin sharp knife to run between the cake and tin.
- Ease it out and enjoy!!
 |
| Yes, I need to improve on the cutting. |
No comments:
Post a Comment
Feel free to leave comments on my posts, I love feedback! I moderate them to filter out any spam.